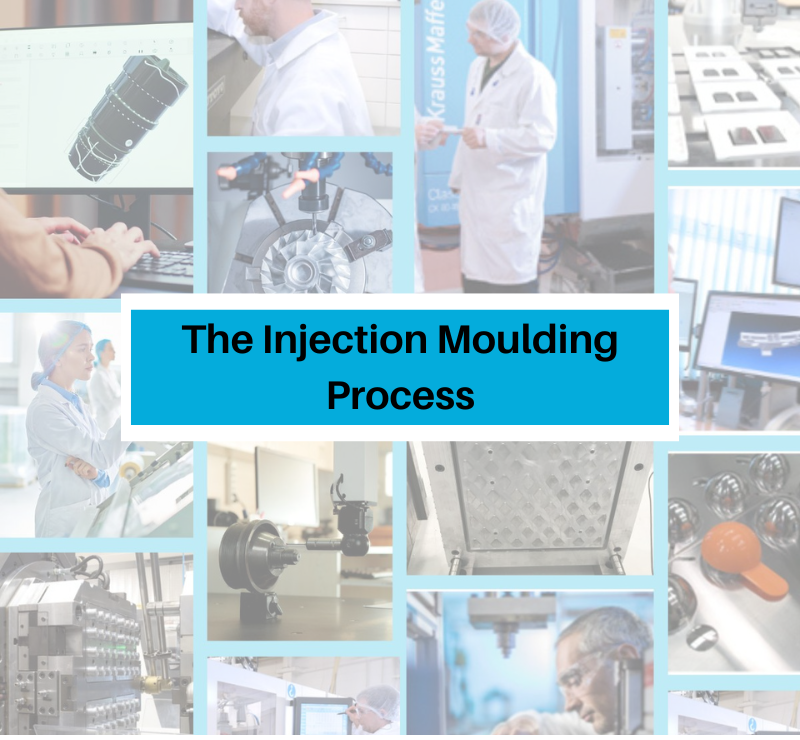
Injection moulding is a cornerstone of modern manufacturing, providing an efficient and cost-effective method for producing high-quality plastic parts. From everyday household items to complex components used in aerospace and medical devices, injection moulding is ubiquitous in the production of plastic products. In this article, we’ll break down the injection moulding process and highlight the key elements that contribute to its efficiency and precision.
Step 1: Design and Development
The journey of creating an injection-moulded part begins with the design phase. Engineers and designers collaborate to develop a detailed CAD (Computer-Aided Design) model of the part. This design must consider the part’s functionality, aesthetics, material selection, and manufacturability. Product design and Design for Manufacture (DFM) are pivotal stages that dictate the efficiency, quality and cost effectiveness of the entire manufacturing process.
Product Design: the manufacturing process is built on the foundation of product design, which transforms complex specifications and functional needs into a concrete blueprint. At Key Plastics, we leverage our injection moulding knowledge to optimise designs for manufacturability through collaborative interaction with our clients. This ensures that every component is customised to survive the rigours of the production process, improving efficiency and avoiding material waste.
Design for Manufacture (DFM): combines innovative concepts with realistic manufacturing requirements. It’s about creating things with manufacturing processes in mind. Our experienced engineering team at Key Precision carefully assesses every design iteration to find ways to improve part performance, reduce tooling costs, and streamline manufacturing processes. We evaluate designs in virtual settings, addressing potential manufacturing issues and optimising part geometry for injection moulding, by utilising sophisticated CAD/CAM software and simulation tools.
Step 2: Creating the Mould
Once the design is finalised, the next step is creating the mould. The mould is typically made from steel or aluminium, is precision-machined to form the negative shape of the part. Moulds can be simple or highly complex, depending on the part’s geometry and the number of cavities (the spaces where parts are formed) required. High-quality moulds are essential for producing consistent, high-precision parts.
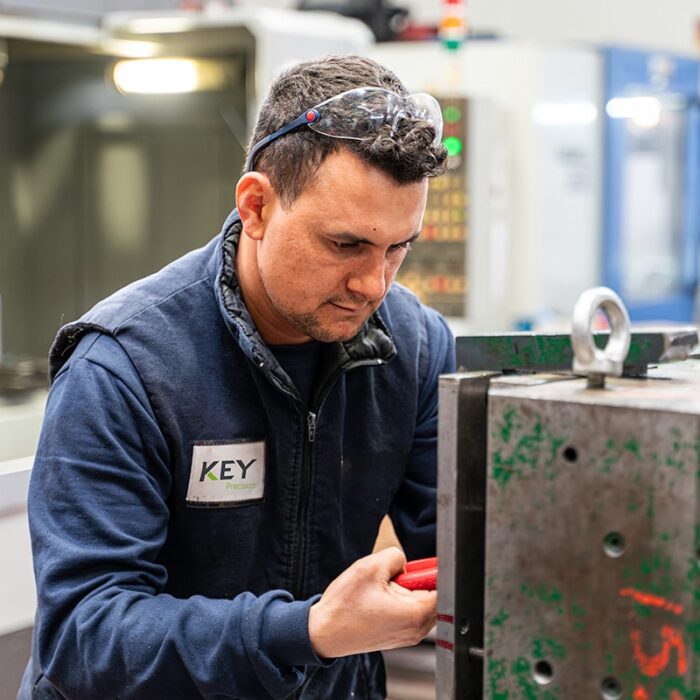
By utilising our extensive precision engineering experience, Key Precision is able to provide our clients with premium mould production services that combine innovation and precision to realise your ideas. With decades of experience and a team of master mould makers, we specialise in delivering high-quality moulds tailored to your exact specifications.
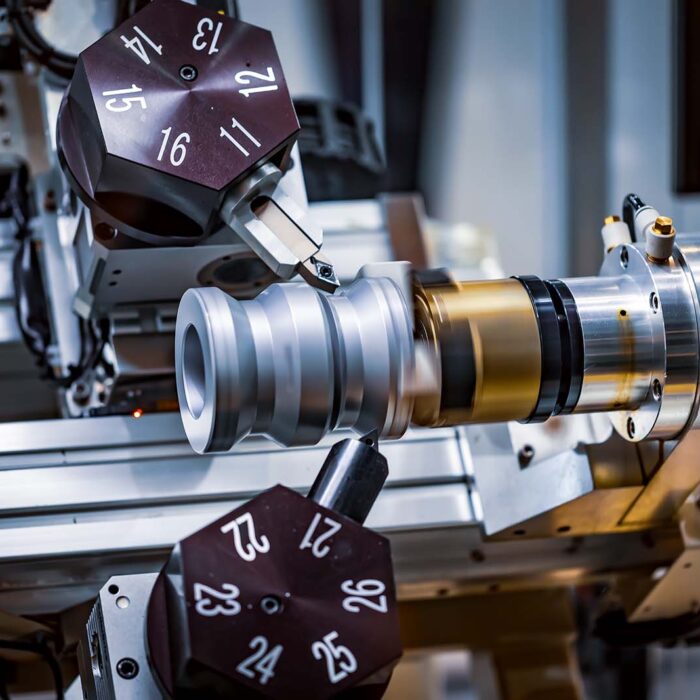
We use cutting-edge precision machining processes like wire erosion, milling, turning, and EDM at our facilities to produce moulds with unmatched accuracy and consistency. Our internal resources and strategic alliances with vetted outside partners guarantee that we have the adaptability and know-how to manage projects of any size or complexity.
Step 3: Material Selection
Selecting the right material is crucial for the success of the injection moulding process. Thermoplastics are the most used materials, but the choice depends on the part’s requirements, such as strength, flexibility, heat resistance, and cost. Common materials include polyethylene, polypropylene, polystyrene, and ABS. Sometimes, additives like colorants, UV stabilisers, or flame retardants are mixed with the base resin to enhance the material’s properties.
Step 4: Melting and Injection
With the mould prepared and the material selected, the injection moulding machine can begin its work. Plastic pellets are fed into the machine’s hopper, where they are heated until they melt into a viscous liquid. A reciprocating screw inside the machine’s barrel mixes and conveys the molten plastic forward. Once the material reaches the correct temperature and consistency, it is injected into the mould cavity under high pressure.
Step 5: Cooling and Solidification
After the molten plastic is injected into the mould, it begins to cool and solidify almost immediately. The cooling time depends on the material used and the part’s geometry. Proper cooling is critical to ensure the part retains its desired shape and dimensional stability. Cooling channels within the mould help manage the temperature and speed up the cooling process.
Step 6: Ejection
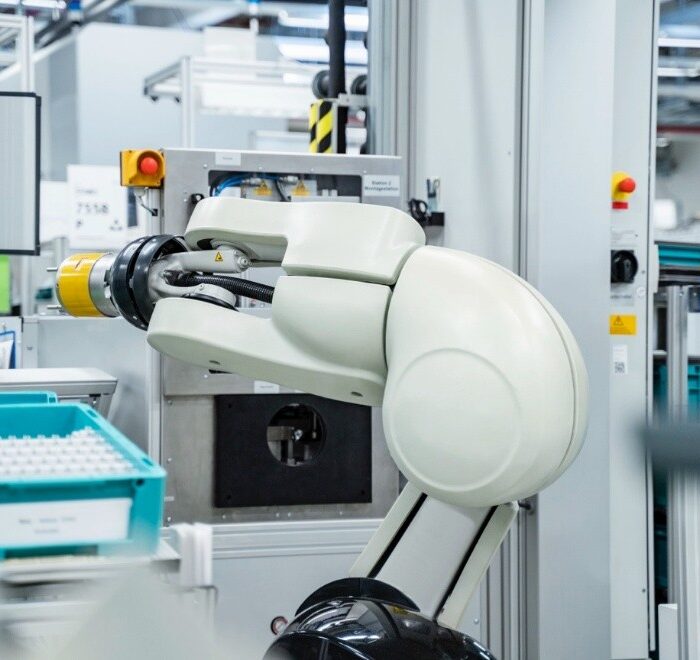
Once the part has sufficiently cooled and solidified, it is ready to be ejected from the mould. The mould opens, and ejector pins push the part out of the cavity. This step must be carefully controlled to avoid damaging the part. In automated systems, robotic arms are used to remove the parts, ensuring consistent handling and placement.
Step 7: Post-Processing
The final step in the injection moulding process is post-processing. This can involve a range of activities depending on the part’s requirements. Common post-processing steps include trimming excess material (known as flash), removing sprues and runners, surface finishing, painting, or adding inserts. Quality control inspections ensure that each part meets the required specifications and standards before packaging and shipping.
Advantages of Injection Moulding
Injection moulding offers several key advantages:
- High Efficiency: Once the initial setup is complete, the process is highly efficient for large-scale production.
- Consistent Quality: Produces parts with high precision and repeatability.
- Versatility: Capable of producing complex shapes and a wide variety of materials.
- Cost-Effective: Economical for high-volume production runs.
- Reduced Waste: Excess material can often be recycled and reused.
Get Started with Key Plastics Today
+353 1 286 9231 | [email protected]
Other Articles You Might Enjoy
Tooling Transfers: The Missing Link in Your Supply Chain?
The Umbifunnel: A Unique, Purpose-Designed Cord Blood Collection Device

